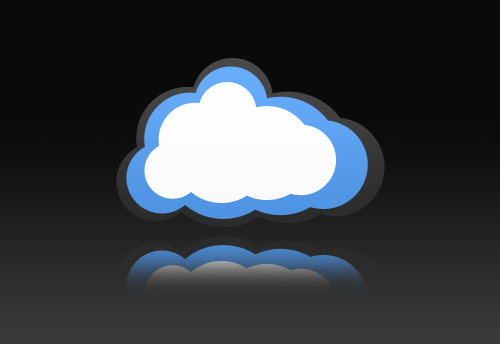
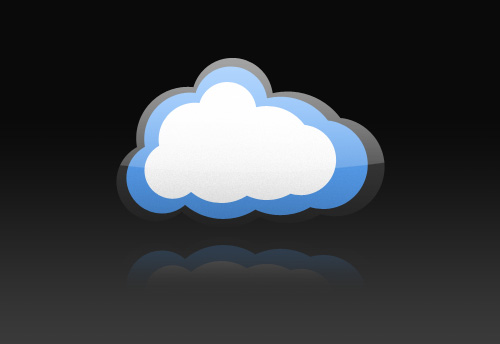
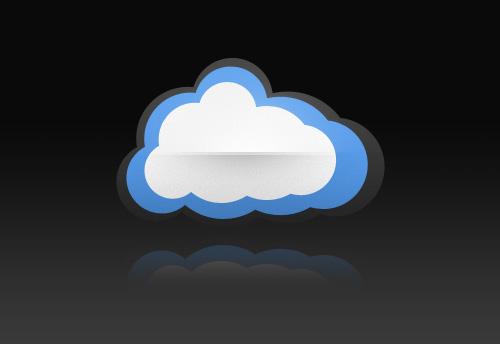
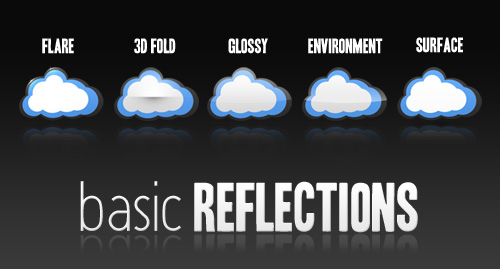
You’ve undoubtedly seen these 5 reflections in all sorts of graphic design, website design, and interface design. In this tutorial, I’ll show you how to make them in Photoshop.
The Reflections
You see reflections everywhere in design, whether you realize it or not. You see them used in graphics, commercials, products, and even websites. There are lots of photoshop tutorials that teach how to create a specific reflection, but in this tutorial, I am going to outline how to create 5 of the most widely used types of reflections in design. Feel free to download the attached PSD if you’d like to work on the same document I’ll be editing.
The Surface Reflection
The Surface Reflection is probably the most widely known reflection type, as it has basically been made into an icon by Apple Inc. Basically, it’s simply the reflection of an object on a surface below the object. It’s very simple to create.
Begin by Duplicating the layers you wish to reflect (Right Click Layer > Duplicate Layer). In my case, it will be the Tutorial9 Logo. Next, Flip the layer Vertically (Edit > Transform > Flip Vertical).
Using the Eraser Tool, with a brush size of 40-200 (It will vary from case to case, just experiment), and Hardness set to 0%, erase the bottom of your upside down cloud. Hold Shift while erasing to erase in a perfect line.
Only thing left to do is Adjust the Layer Opacity to control the intensity of the reflection. That’s it for the surface reflection!
The Environment Reflection
The Environment Reflection Might be best known as the Reflection used for windows in Microsoft Windows Vista. There are plenty of other uses for it too, such as menu bars on website, or Icon Design.
To start, you need to Select the Layer Transparency of the layer you will be adding the reflection too. To do this, Ctrl + Click said layer, or Right Click > Select Layer Transparency. You must click the actual layer icon, NOT the layer name.

From here we can create two different reflection types. We could go with a curved reflection, or a simple flat reflection. I will be creating a curved one with the Elliptical Marquee Tool, but you may create a flat one with the Rectangular Marquee Tool  if you wish.
 if you wish.
Once you’ve selected your tool of choice, hold Alt + Shift and draw a selection through your layer. Holding Alt and Shift will make your layers Intersect, meaning a selection will be left ONLY where both selections overlap.
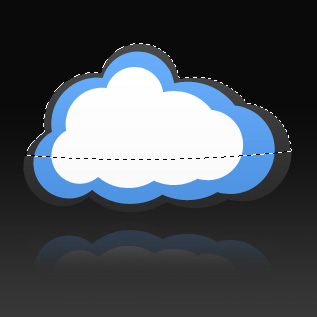
Create a new layer to draw the reflection on.
Select the Gradient Tool from the toolbar, and select White as your foreground color. Select the “Foreground to Transparent” gradient from the gradient picker in the options bar. Now, while holding shift to create a straight gradient, drag from a bit below your selection towards the top of your layer, and release to create a gradient.
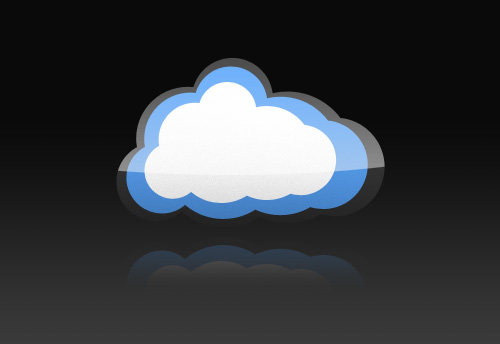
You may choose to adjust the layer opacity in order to get the right kind of lighting intensity. Otherwise, that’s it for the Environment Reflection.
Glossy Reflection
Glossy Reflections are very prevalent in Text and Icon effects, but are also seen in many other scenarios too, similar to the Environment Reflection.
The creation of a Glossy Reflection type is exactly the same as the Environment Reflection shown above. The only difference is when you are drawing your gradient. Instead of dragging from bottom to top with the Gradient Tool, drag from the top to the bottom. Afterwards, just adjust the layer opacity of your reflection to alter the intensity.
3D Fold
This is really more of a lighting effect than a reflection, but basically that’s what a reflection is. A Lighting Effect. You have probably seen something like this on a logo, or website layout before.
To achieve the effect, select your objects layer just as you did with the previous two reflections (Ctrl + Click Layer Thumbnail).
Using the Rectangular Marquee Tool, intersect that selection so that you have a straight edge (Remember, to intersect a selection, hold Alt + Shift while drawing one selection over another).
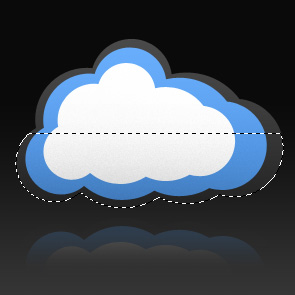
Create a new layer.
Now, select a large, soft Brush (200px, 0% Hardness) from your toolbar. Using Black as your foreground color, use just the edge of the brush to fill it a bit of the selection you’ve made.
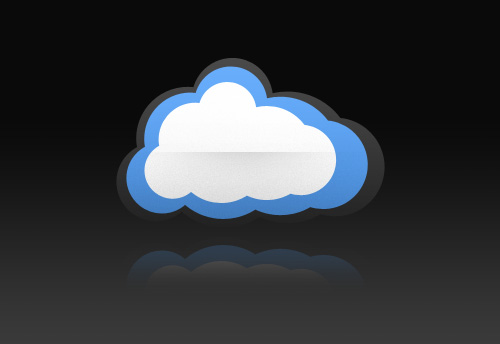
Duplicate this layer, and move the duplicated duplicated layer just below the original with the Move Tool.

Finally, create a new selection that instead overs the top half of your layer, and this time, brush it with a white foreground instead of a black one. The end result should have a 3-Dimensional feel to it!
The Flare
The flare is self-explanatory. It’s basically a imitation of a collection of light that produces a bright spot on an edge or surface.
To create a flare, we will be using the Dodge Tool.
Begin by grabbing the Dodge Tool, and setting the Brush options to 50px in Size, 0% in Hardness, and 50% in exposure (exposure settings may need to be modified depending on brightness of surface). Set the Range to Highlights.

When working with lighting effects, it’s usually a good idea to try and visualize where the light will be coming from. In our example here, we’ll have the light come from the top left of the canvas.
Begin gently brushing around the edges where the light will be hitting strongest. Just use the edge of your brush, and lighting go back and forth over these edges.
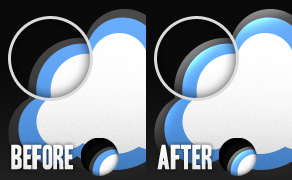
Reduce your brush size to something significantly smaller, perhaps around 10px. Continue to gently brush these edges until you really create a thin bright edge. Zooming In and Out (Ctrl + ‘+’, or Ctrl + ‘-’) may assist you here.
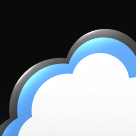
Finally, using your Brush Tool, and a small, soft brush, Create a new Layer, a make some soft “Flare Marks”. Adjust the Opacity of this layer as needed. That’s it!
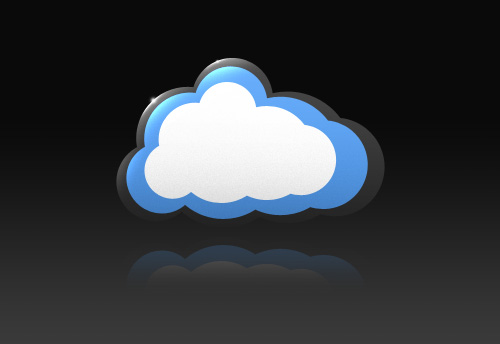

And there you have it, 5 different flares added to your arsenal for excellent design. Good Luck, and have fun!


